
There is no shortage of advice on how to start dropshipping on Shopify. Most of it stops at “open a Shopify account” and skips the actual menu paths inside the admin. This page is the click-by-click version: every step you take inside Shopify from signup to launch, in the order that prevents redo work, with the exact settings screens to open, the apps that earn their slot, and a pre-launch test order that catches the failure most beginners ship into production.
If you have not yet locked in the customer, supplier model, and budget, the how to start dropshipping walkthrough covers those upstream calls first. Cost ranges by tier are on the how much money to start dropshipping page.
The Short Answer
To start dropshipping on Shopify, sign up for a trial, pick a theme, install a supplier app, import a focused set of products, polish the product pages, configure payments and shipping under Settings, set up taxes and policy pages, place a test order, then publish. The order matters: configuring payments before you have real products to test wastes time. Configuring shipping before you know the supplier’s origin country produces wrong rates. Working in the correct sequence saves hours of rework.
What You Need Before You Open Shopify
Two things should already be decided before the trial clock starts.
- A clear customer in one sentence. “Dog owners who travel” beats “pet products.” If the customer is still vague, the dropshipping niches framework usually sharpens it.
- A supplier model. Marketplace app like DSers, a curated supplier like Spocket or Zendrop, Shopify Collective for built-in sourcing, or a private agent.
If you are still working through those calls, do not start the trial yet. The trial is a fixed window and you do not want it ticking down while you are still researching.
Step 1: Sign Up and Start the Trial
Go to shopify.com and start the free trial. During onboarding, Shopify asks several questions about your business stage and what you sell. Answer honestly. The answers do not lock you in, but they shape the default storefront sections and the suggested apps.
Pick a temporary store name. You can change the store name later under Settings > General > Store details. The myshopify.com URL is permanent for the store, so keep it short and not tied to a single product. You will connect your real domain later.
Step 2: Pick a Theme Built for Dropshipping
In the admin, open Online Store > Themes. Shopify ships with a default theme that works, but a focused theme matched to your niche saves design hours. Free themes like Dawn and its variants are workable. Paid themes earn their cost once you have ad data and want to test layout changes quickly.
For dropshipping specifically, you want a theme that handles big product images, clear collections, and a mobile-first product page. The best Shopify theme for dropshipping guide goes deeper. Install one theme. Do not collect themes the way beginners collect apps.
Step 3: Install a Supplier App
Open Apps in the admin and search for the supplier app that matches the model you picked.
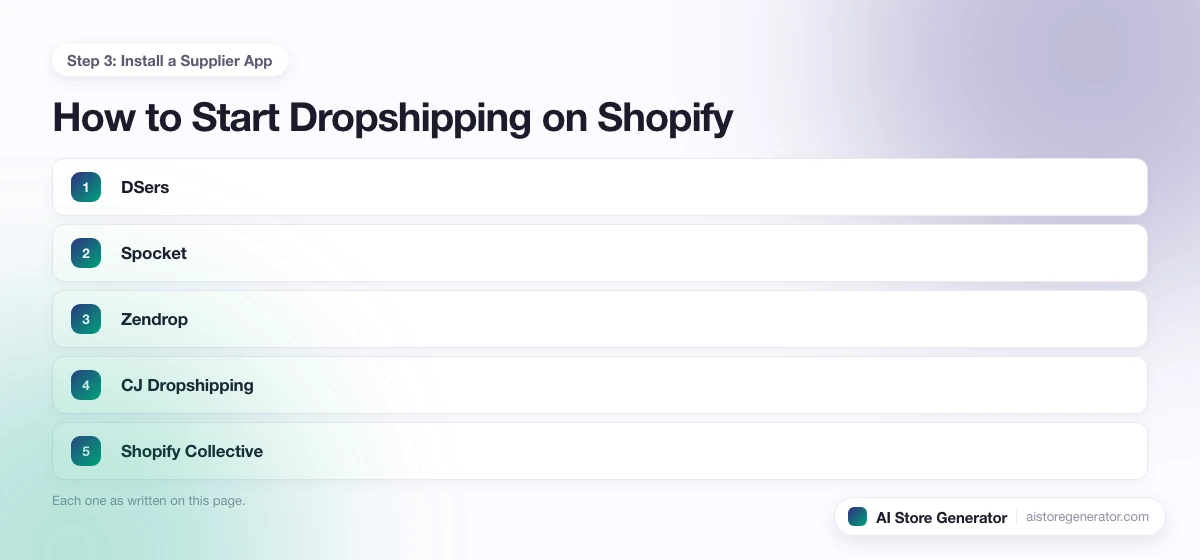
The common Shopify dropshipping apps in 2026:
- DSers. AliExpress-connected, free tier exists, widest product range, slower default shipping.
- Spocket. Faster US and EU shipping, curated catalog, paid plans for serious volume.
- Zendrop. Branded packaging options, automation features, paid plans.
- CJ Dropshipping. Mixed supplier base, agent-style fulfillment, free to install.
- Shopify Collective. Shopify’s own brand-to-brand sourcing network, useful for retailers connecting to other Shopify brands.
Install one. You can add a second later once the store is earning. Two supplier apps on day one creates inconsistent shipping speeds and harder customer support. For a side-by-side on shipping speeds, margins, and trade-offs, dropshipping suppliers for Shopify covers each option in more depth.
Step 4: Import a Focused Product Set
Inside the supplier app, search for products that fit your customer in one sentence. Import 10 to 30. Not 200. A focused store with a clear point of view converts paid traffic better than a giant random catalog. For how the starting number ties to your ad budget and testing stage, see how many products to start dropshipping with.
For each imported product, the supplier feed gives you a title, description, photos, and a price. Treat that as a starting point, not the finished product page.
Step 5: Polish the Product Pages
This is where most beginners stall and where ads silently waste budget. Inside Products > All products, edit each product page:
- Rewrite the title so it speaks to the customer, not to the supplier feed.
- Rewrite the description to explain who the product is for and why it is worth the price.
- Pick the strongest photos and reorder them. First photo is the hook. Lifestyle shots in slots two and three. Detail and packaging shots after.
- Set the price. Cover product cost, shipping, payment fees, app fees, returns, and ad budget.
- Fill the SEO fields at the bottom: page title, meta description, URL handle.
- Add the product to a collection that matches your customer’s mental model.
If 25 products feel like a lot of writing, it is, but every product page is doing the work of an ad once traffic arrives.
Step 6: Configure Payments
Open Settings > Payments. Activate Shopify Payments if it is available in your country. It removes the third-party transaction fee Shopify charges on other gateways and gives you native chargeback handling.
If Shopify Payments is not available, set up an alternative gateway like PayPal, Stripe, or a regional processor. Use one primary gateway. Multiple gateways at launch confuse the checkout for no real upside.
Confirm payout currency and bank details under Settings > Payments > Payouts. The first payout cycle is usually delayed for new stores. That is normal and not a bug.
Step 7: Configure Shipping
Open Settings > Shipping and delivery. Shopify ships with a default profile that does not match what most dropshippers need.
- Create shipping zones for the countries you sell to.
- Add flat or weight-based rates that reflect what your supplier actually charges, plus a small buffer.
- If you are using a supplier app that handles shipping rules automatically, confirm those rules under the app’s settings.
- Add a clear delivery-time estimate to each zone. Customers refunding because of unclear timing is the most preventable chargeback.
Do not enable carrier-calculated rates unless you have a real-time rate provider. Static rates are simpler and easier to debug at launch.
Step 8: Set Up Taxes
Open Settings > Taxes and duties. Shopify defaults to automatic tax for the regions it supports. Confirm the rate is collected at checkout for the customer’s location, not yours.
Tax rules vary by country and state, and getting them wrong creates back-charges later. If you are unsure, the dropshipping business setup guide covers the registration side and points to where to confirm rules per region.
Step 9: Add Policy and Trust Pages
Open Online Store > Pages and create:
- Shipping policy
- Returns and refunds policy
- Privacy policy
- Terms of service
- Contact page
Shopify gives you policy templates under Settings > Policies. Use them as a starting point and edit so the language matches your real practice.
Then open Online Store > Navigation and add these pages to the footer menu. Pages buried in the admin do not count for trust. The footer is where customers look.
Step 10: Run a Real Test Order
This is the step most guides skip. Inside the admin, open Settings > Payments > Manage > Test mode or place a real low-value order through your supplier app’s test flow. The test order should:
- Move from checkout to the supplier app
- Surface to your supplier with the correct address and product variant
- Generate a customer email confirmation
- Show in your order list correctly
If any of those steps fail, fix them before launch. A broken supplier handoff at launch turns the first paid traffic burst into refunds and chargebacks.
Step 11: Connect Your Domain and Publish
Open Settings > Domains. Buy a domain through Shopify or connect one you already own. Confirm the primary domain points to the storefront and that the myshopify.com URL redirects to it.
Then open Online Store > Preferences and remove the password protection that hid the store during build. The store is now public, and the work shifts to Shopify dropshipping operations: customer support, fulfilment monitoring, and the small daily checks that keep the store healthy.
What to Ignore in Week One
Shopify has hundreds of settings. Most of them do not need attention until the store is earning. Skip these on day one without guilt.
- Multi-currency on every region you can think of
- Markets and international selling tabs beyond your launch country
- Gift cards
- Customer accounts beyond the default
- Shop Pay Installments
- Custom checkout extensions
- Bundles and subscriptions
- B2B features
- Third-party analytics platforms before you have data
You can revisit any of them once you have real orders and a real reason.
Where AI Store Generator Fits
Steps 2, 4, 5, and 9 are the slow parts of this list. Choosing a theme, importing products, writing product pages, and building policy and supporting pages takes most beginners weeks by hand.
The AI dropshipping store builder handles those steps for you. You describe the store you want and it builds a Shopify dropshipping store with products, product pages, collections, policy pages, and an SEO-first navigation already in place. You connect it to your Shopify account, run through Steps 6, 7, 8, and 10 in the admin, and launch.
You still own the customer choice, the supplier choice, the prices, and the marketing. The build phase stops being the bottleneck.
Common Shopify Setup Mistakes
- Skipping the test order. A broken supplier handoff at launch is the most expensive bug in dropshipping.
- Installing five apps before launch. Each app is a subscription and a potential conflict. Add apps when a real need shows up.
- Activating multiple payment gateways. Splits the analytics and confuses customers.
- Setting carrier-calculated shipping with no real-time provider. Customers see a generic error at checkout.
- Leaving Shopify’s lorem-ipsum policy pages live. Buyers read them. So do dispute investigators.
- Editing the theme code before launch. Themes get updates. Custom code edits get overwritten. Use theme settings first.
- Connecting the domain before the store is ready. Search engines and curious early visitors land on a half-built site.
Frequently Asked Questions
How long does Shopify setup take for dropshipping?
Working by hand, a focused beginner usually needs 20 to 40 hours spread over one to three weeks. The bulk of the time goes into product pages and policy pages, not into the Shopify admin itself. With the build phase handled by an AI store builder, the same launch usually takes one to three days of review.
Do you need a Shopify paid plan from day one to dropship?
The trial is enough to set up the store. You need a paid plan to remove password protection and accept real payments. Most beginners go live on the basic plan and only upgrade when reporting or shipping discounts justify it.
Can you connect more than one dropshipping app to Shopify?
Yes, but it complicates customer experience. Different apps mean different shipping speeds, different packaging, and a harder support workflow. Start with one. Add a second only if a real product gap forces it.
What is the safest way to test a Shopify dropshipping store before launch?
Place a real low-value order to yourself through the live checkout, with the password protection removed for a few minutes. Confirm the order moves to the supplier, the supplier sees the correct details, and the customer email lands. Then restore the password until you are ready to publish for real.
Does Shopify Collective replace traditional dropshipping apps?
Not yet. Shopify Collective connects retailers to other Shopify brand suppliers, which is useful for curated and branded inventory but not for the broad catalog that traditional apps cover. Many stores use both: Collective for branded items, a traditional app for everything else.
The Slow Part Was Never the Admin
The Shopify admin walkthrough above takes hours, not weeks. The part that takes weeks is the storefront, the product pages, the copy, the collections, and the supporting pages. For a page-by-page breakdown of how to build each of those, read How to Set Up a Dropshipping Website. That is the part the AI dropshipping store builder handles. You move straight to the admin steps that actually matter on launch day, with a finished store waiting for your decisions instead of an empty one waiting for your hours.